Beautiful nails, as a symbol of status, can show one’s good manners and temperament. Nail art, also known as nail design, refers to the process in which one’s nails are sterilized, cleaned, cared, maintained, reshaped and eventually beautified according to one’s requirements; including the shape of one’s hands, nails, skin and the color of clothing. Nail art boasts diverse characteristics.

Tuesday, 9 July 2013

Prickly Pear 319 Barry M - Review

Good evening,

I will be really quick because it is late and need to relax to have strength for tomorrow...it is not easy to be manager of  shop. Anyway lets see how I painted my nails these days.
 
 This time I used one of my new treasures Barry M Jelly Hi-Shine Prickly Pear 319. It is quite nice colour, no chipping like all the rest of that edition. Only that theis time I had to apply three coats to get that dark colour.


On my index nails, which I painted in black the tips only,  I stacked these lovely flowers. And at the end covered it with Seche Vitte top coat...


Sunday, 7 July 2013

Step By Step

Good morning,

 
Hope you are doing well. Here in London is very hot weekend...wow...and not windy. Today will show one tutorial with really easy summer design.
 It is quite easy, isn't it?

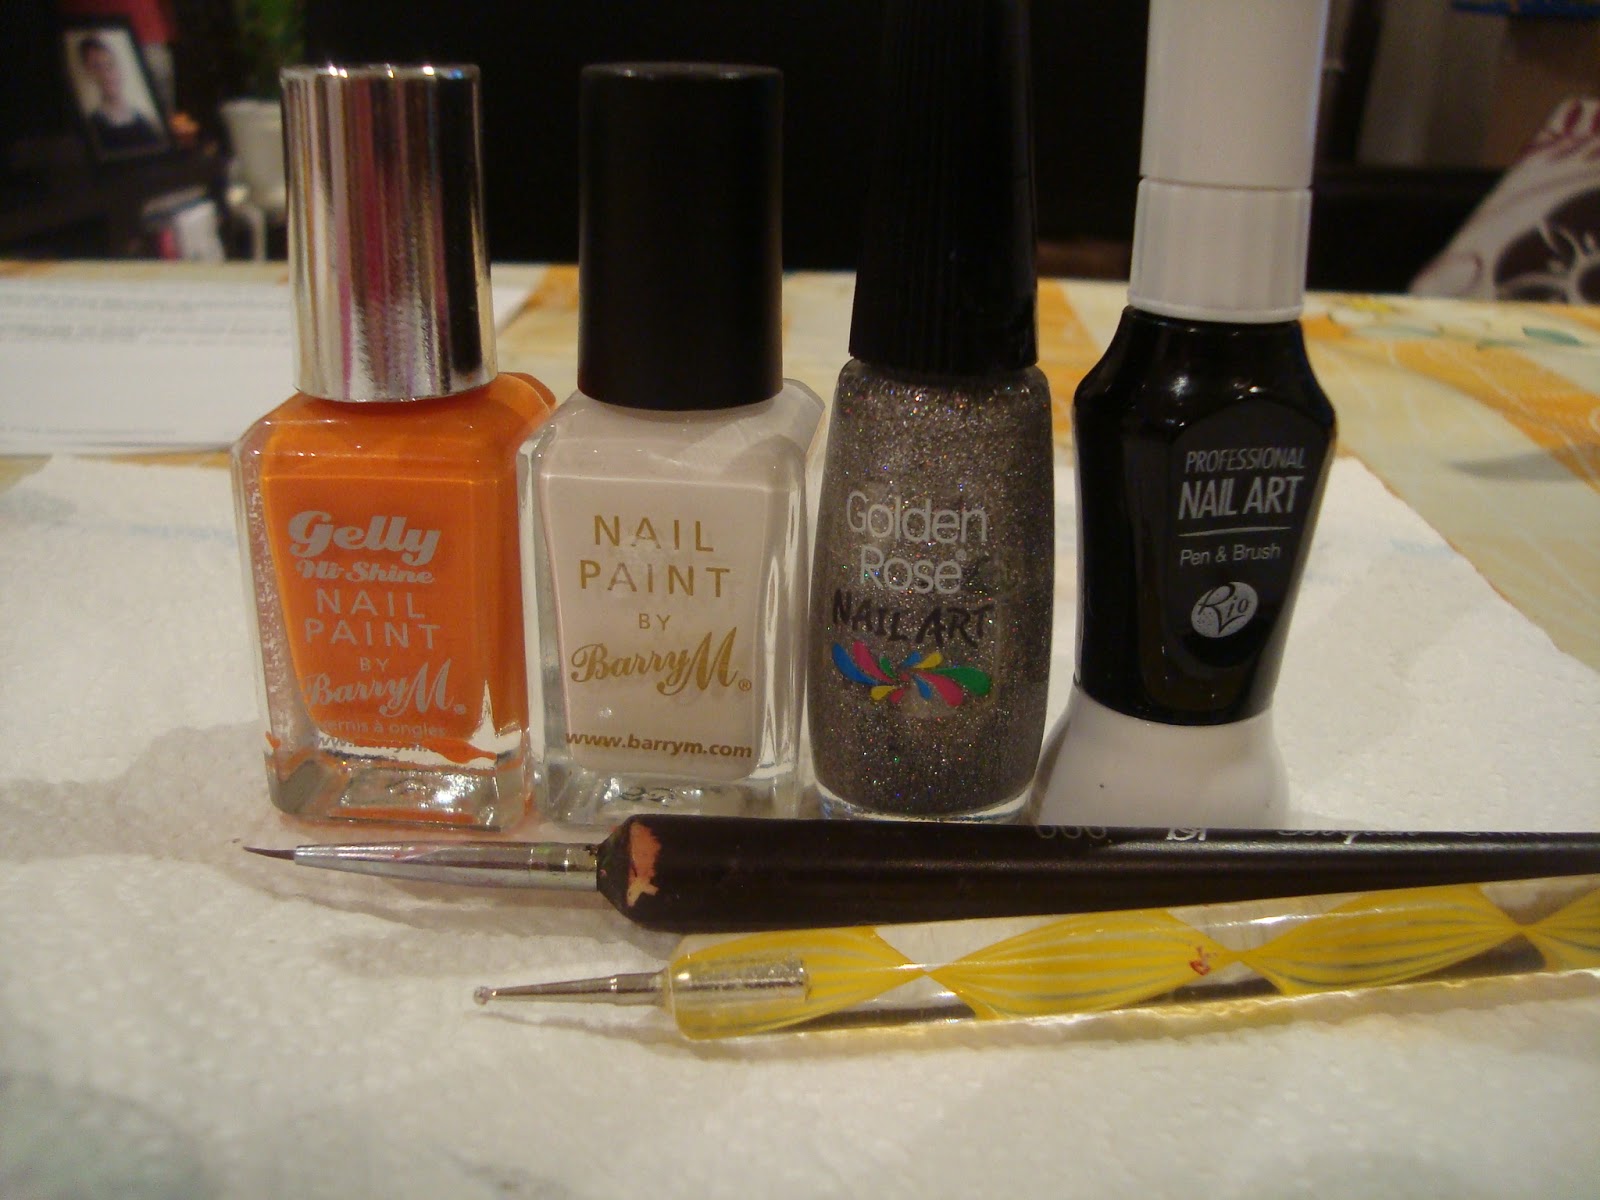
An there is what you need for it - white polish, orange one, silver glitter and black polish or paint, thin brush and dotting tool. Forgot to say I used one of my new Barry M Jelly polishes - 322 Mango

 
First you paint you nails in V-shape like is on the picture.
 
Then paint two thin stripes above the V-shape
After that in the middle draw a little flower, add some black stripes in each petal and add glitter in the middle of it. With the dotting tool do some dots between the orange V-shape and the orange stripes.


And there is the result.


That's it from me for today.
Have a lovely day and take care.
 

Thursday, 4 July 2013

How to make gel extension

Good Evening Ladies,

 
If your nails are short and weak and you can not keep them long, it is not a problem at all. You can have extension - gel or acrylic.  I personally prefer gel extensions. They light to wear and gives more natural look to your hands.
Alright lets start the tutorial. It depends what look you want to create you can go for natural or permanent white tips. For this tutorial  I used white French tips.
These are the steps
  1. File the free edge with 240 grit file.
  2. Push back cuticles
  3. Buff them on top to remove any excess non living tissue , that would prevent lifting of the enhancement.
  4. Brush the dust.
  5. Wipe the nail plates over with acetone or any nail prep solution
  6. Tips already on one hand


    Tips on both hands
    Trimmed tips

    
    After curing in the UV Lap
    Step1 of the desgn

    Step 2 of the design
    Step 3 of the design


    Atfter top coat


    Size the tips and stick them onto your nails. Tips should be on 1/3 part of your nail plate. Always start from the little finger. Work on one hand then another.
  7. Cut the tips according to the desired length.
  8. File the nails to the shape you want.
  9. Apply primer on the natural nail ONLY for maximum adhesion
  10. Start applying the gel. Apply one thin layer at first. Cure in the UV for 3 minutes
  11. Apply second thicker layer and cure again for another 3 minutes.
  12. Apply third and last layer and cure again for 3 minutes.
  13. Wipe off the nails with any alcohol to remove stickiness.
  14. Polish your nails as usual starting with base coat and then the desired colour or even decorate them.
Fully ready manicure