Beautiful nails, as a symbol of status, can show one’s good manners and temperament. Nail art, also known as nail design, refers to the process in which one’s nails are sterilized, cleaned, cared, maintained, reshaped and eventually beautified according to one’s requirements; including the shape of one’s hands, nails, skin and the color of clothing. Nail art boasts diverse characteristics.

Monday 23 September 2013

Holographic collection of Perfect- H3

Hello again,

 
Then second nail polish I have to show you today is the holographic on from Perfect.
It is not something I have but these days I am so busy therefore it takes me ages to try each new on I have. I still have 3-4 more to try.
It is lovely colour and good quality.
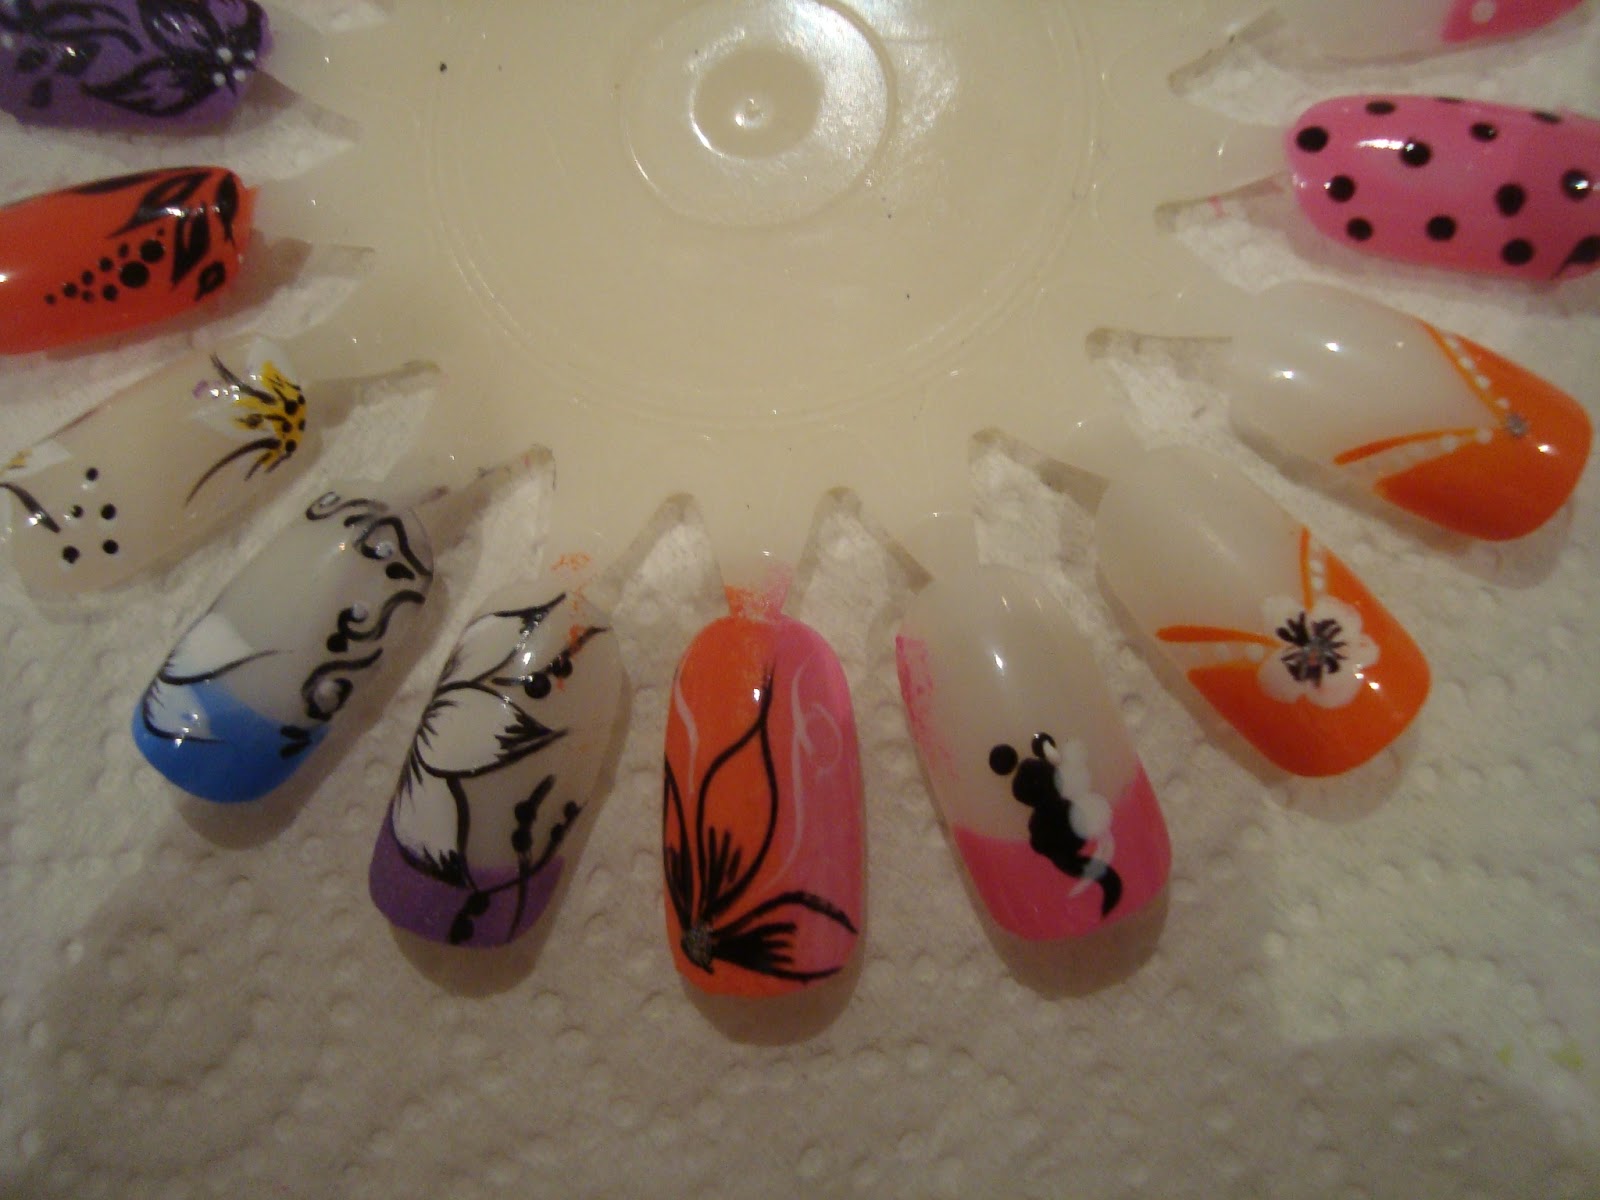
I applied it in two coats as usual and hand painted some petals with black colour only.


 At the end I applied fast dry top coat even that nail polish was already dry.
Hope you like that colour too.


And at the end for today I would like to ask you to support my entry in this contest
 

Kiko Sugar Mat

Hello there,

I was trying for very long time find colours from Kiko sugar mat collection. I had been searching for months and finally I found that there is Kiko Store in London (Westfield shopping centre).
unfortunately there was only one colour left - lilac - KIKO SUGAR MAT 635
I bought also another two colours from the Mirror collection, which I am going to show you other time.
 
I applied in two coats and as usual I decorated the ring nails. This time is not hand painted flowers, but water transfer decals

I painted the tips with Barry M Blueberry 324 in two coats and then one layer of white cracking polish. I used again from Barry M collection, you can use any one you find in stores.
Water decals I bought from Born Pretty store.
Use the code KA5X31 to get -10% discount when you purchase something from them.
Plus- a worldwide free shipping!
As a finish I added some black dots here and there, and covered it with fast dry top coat from Seche Vitte.


Saturday 14 September 2013

Purple Sand From Golden Rose Holiday

Hello Ladies,

I can wait to show you my new nails. The idea is not mine. I was inspired by someone else.
 
 
I used Golden Rose Holiday 59, applied in two coats. Some people say it should be applied base coat before it,but every time before the sand polishes I do and the result is lovely.
On my ring nails I made black French and added water transfer decals which I bought from Born Pretty Store.
Use the code KA5X31 to get -10% discount when you purchase something from them.
Plus- a worldwide free shipping!
Golden Rose Holiday 59
 

Then I made some back details and dots and seal it with fast dry top coat Sache Vitte
Golden Rose Holiday 59

Friday 13 September 2013

Sally Hansen Sugar Coat

Good evening everyone,

I am here again despite of the late hours. Again I will show you sand polishes and design with them, just time they are Sally Hansen collection. To be honest I am not happy at all with their quality, hope you will not make the same mistake to get them.
Bottles look really attractive, don't they?
 
I combined the sugar polish with regular Barry M mint colour and hand painted ribbon.

That second idea is lovely. Bears are so cute...I really felt in love with them. What about you?
The cute bears you can get from Born Pretty store. Don't forget to use my code to get 10 % off the price  KA5X31.


Decorated nails I covered with top coat to keep the decals, otherwise when you wash your hands you will loose them.....
 

Friday 6 September 2013

Multicolour Flower

Hello beauties,

 
I am back again after some time. I haven't posted anything new because I was preparing myself for a nail art contest. Pictures will be uploaded soon ...Meanwhile lets my brand new design. I was inspired by the flower of my summer sandals. Once I finished the flower I noticed ther was a butterfly also there, wow....


I have tried two options - orange french and white french tips. I personally prefer the orange french. Need to try it on human nails, it might be nice with white french tip as well.....


Monday 2 September 2013

Two cats

Hello again from me,
 
I promise to show you one more tutorial.
Its quite easy to be honest and everyone can do it.


Paint your nails with base coat, paint the tips with desired colour, with dotting tool make 2 little black dots as shown on step 3.,then add two tiny dots for ears, then draw the tail, repeat the same with the white colour for the second cat.


Ombre Effect - Step by Step Tutorial

Hello there,
 I am here to show you two of my tutorials I have prepared for you lats few days. Hope you like them.
Needed staff - white polish (for base), any two matching colours ( I chose Barry M Dragon and Papaya), glitter, base and top coat, black polish, detailed brush
 
Step 1. Apply base coat. After it paint your nails in white as base for the design


Step 2 .  Put from both colours on a sponge like its on the picture, first one colour then second one then repeat


Step 3. Sponge the nails once, then you repeat this second time so colours to be darker


Step 4.  Make hand painted flowers on two of the nails with black paint, Add some stripes in them and add glitter in the middle of the flower


 Step 5. Add swirls in white or maybe some dots. Its up to you...


  And this is the complete design. Do not forget to cover it with top coat for extra shine.


Design on natural nails.....