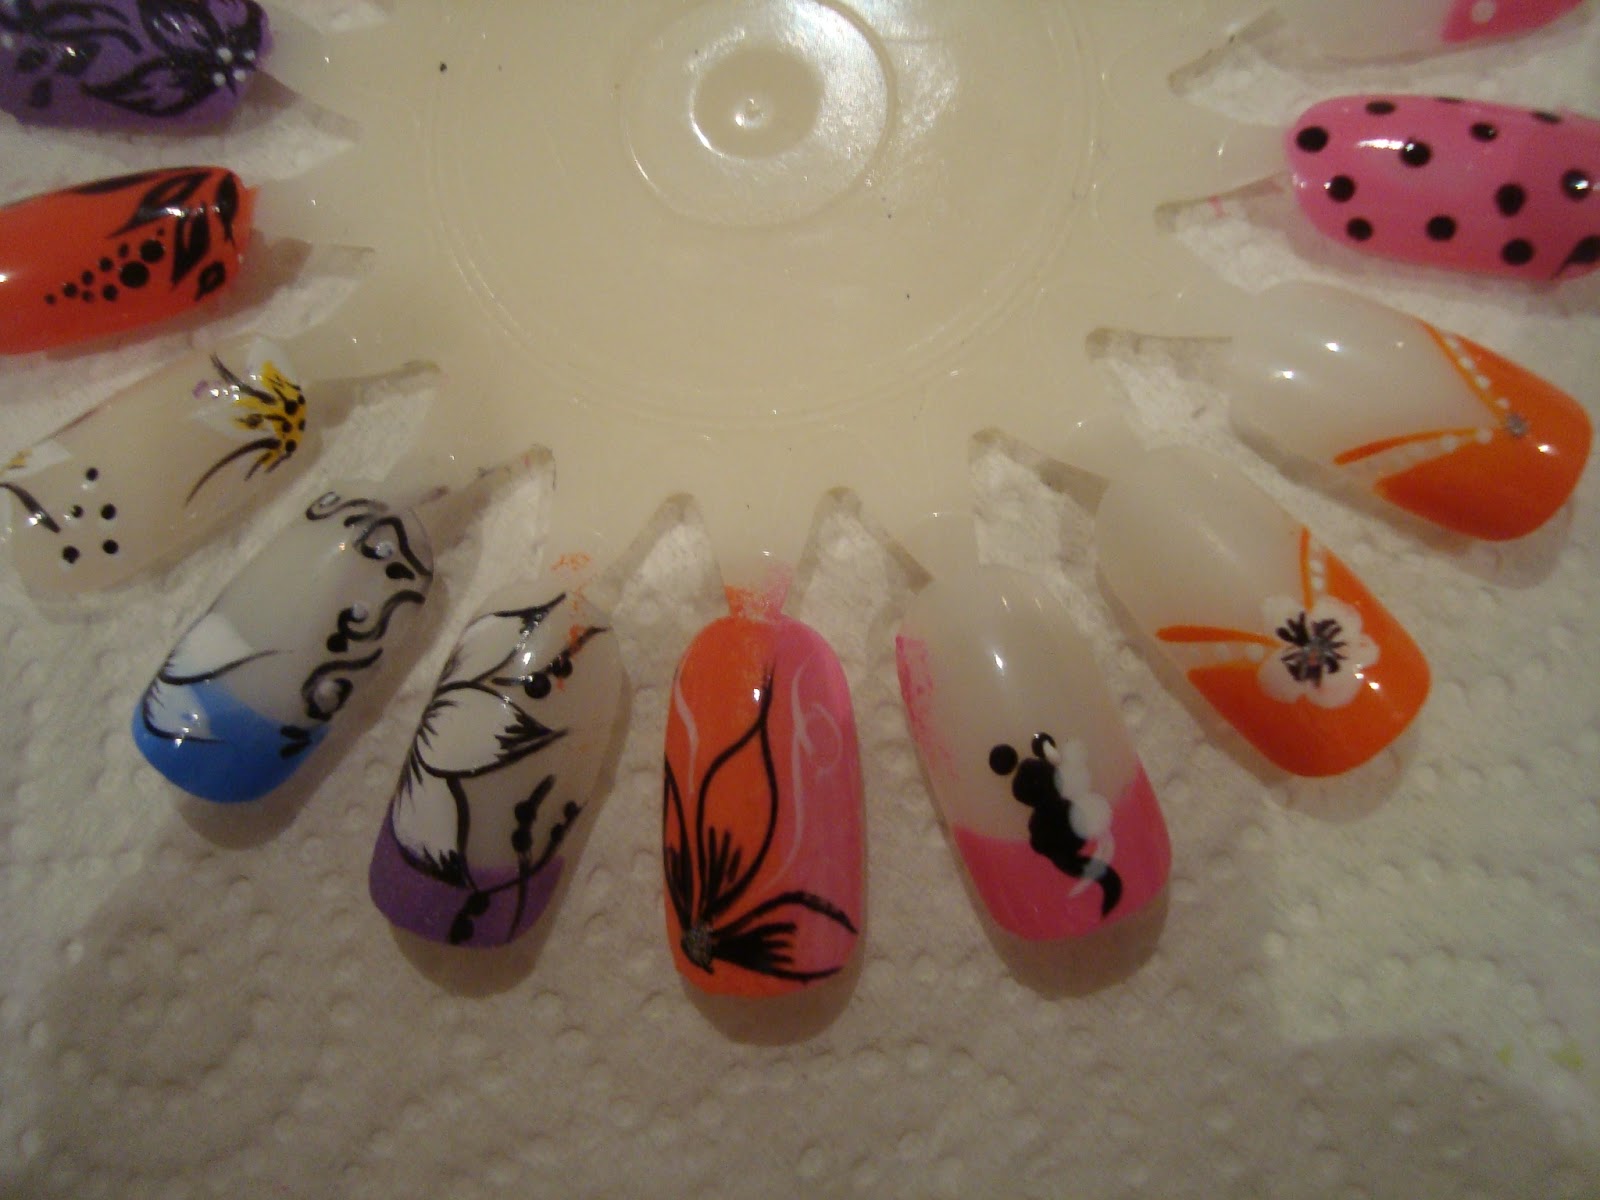
Beautiful nails, as a symbol of status, can show one’s good manners and temperament. Nail art, also known as nail design, refers to the process in which one’s nails are sterilized, cleaned, cared, maintained, reshaped and eventually beautified according to one’s requirements; including the shape of one’s hands, nails, skin and the color of clothing. Nail art boasts diverse characteristics.
Showing posts with label Tutorial. Show all posts

Monday, 2 September 2013

Two cats

Hello again from me,
 
I promise to show you one more tutorial.
Its quite easy to be honest and everyone can do it.


Paint your nails with base coat, paint the tips with desired colour, with dotting tool make 2 little black dots as shown on step 3.,then add two tiny dots for ears, then draw the tail, repeat the same with the white colour for the second cat.


Ombre Effect - Step by Step Tutorial

Hello there,
 I am here to show you two of my tutorials I have prepared for you lats few days. Hope you like them.
Needed staff - white polish (for base), any two matching colours ( I chose Barry M Dragon and Papaya), glitter, base and top coat, black polish, detailed brush
 
Step 1. Apply base coat. After it paint your nails in white as base for the design


Step 2 .  Put from both colours on a sponge like its on the picture, first one colour then second one then repeat


Step 3. Sponge the nails once, then you repeat this second time so colours to be darker


Step 4.  Make hand painted flowers on two of the nails with black paint, Add some stripes in them and add glitter in the middle of the flower


 Step 5. Add swirls in white or maybe some dots. Its up to you...


  And this is the complete design. Do not forget to cover it with top coat for extra shine.


Design on natural nails..... 


Tuesday, 23 July 2013

Blood Orange

Good Morning everyone,

 
It is Tuesday and it so rainy, after three weeks hot weather here in UK.
I am here to show you  one simple design step by step. Lets see the design first
 
There are the needed shades ( you can use others if you wish to )
 
 
Step 1. Paint your nails with base coat (its not on the picture). Then make a V- shape with red or any other colour. I used Barry M Jelly Hi- Shine Blood orange 322  , applied in two coats.
 
Step 2. Outline with white colour and thin brush as shown on the picture underneath.


Step 3. Fill the squares with glitter.
  And this is it. Do not forget to cover it with top coat.


Sunday, 7 July 2013

Step By Step

Good morning,

 
Hope you are doing well. Here in London is very hot weekend...wow...and not windy. Today will show one tutorial with really easy summer design.
 It is quite easy, isn't it?

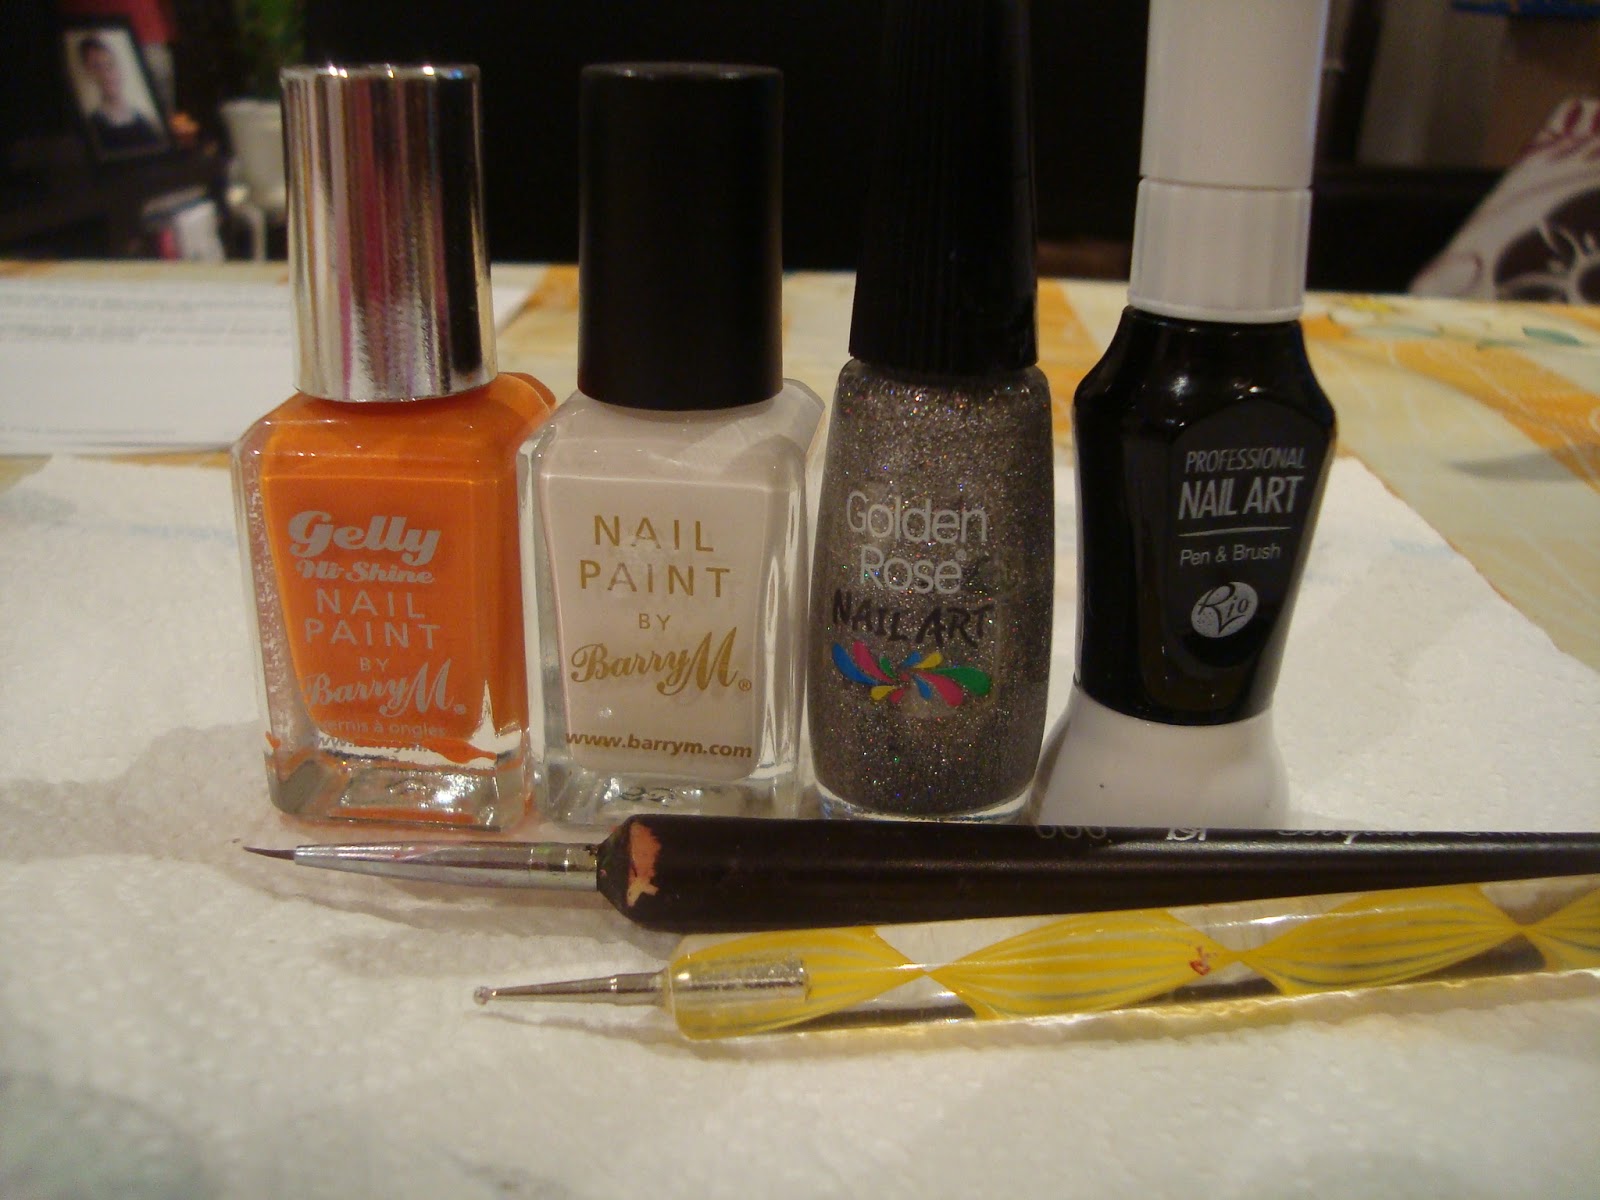
An there is what you need for it - white polish, orange one, silver glitter and black polish or paint, thin brush and dotting tool. Forgot to say I used one of my new Barry M Jelly polishes - 322 Mango

 
First you paint you nails in V-shape like is on the picture.
 
Then paint two thin stripes above the V-shape
After that in the middle draw a little flower, add some black stripes in each petal and add glitter in the middle of it. With the dotting tool do some dots between the orange V-shape and the orange stripes.


And there is the result.


That's it from me for today.
Have a lovely day and take care.